Kemp Loadmaster and Proxmox 8.1.3
TL:DR – Change your proxmox disk from RAW to QCOW2 for more stable Kemp Loadmaster implementation.
Who – in my little world – does not enjoy a nice juicy article by NetworkChuck. Two years ago @NetworkChuck had an article about the Kemp Load balancer. Being trained as a network engineer I had a very good idea of the complexity ahead and put this task off till the last moment. Actually, until I had no choice. Although the the Kemp Loadmaster is a load balancer it is also a layer 4 – 7 reverse proxy. When you run a home lab or test lab you generally only have a single exposed IP Address because IPV6 has been an unmitigated disaster.
All Youtube “experts” will create a video telling you how easy it is to install and configure. They never show any outtakes and redos. The same with dwindling web articles that make is sound so easy by showing you easy stuff. The issue is that as you add more services the edge of the network becomes very complex. The “easy” solution is to use a Layer 7 proxy such as Nginx. Not to get bogged down, you show me how to proxy 4 Proxmox servers through a single url on port 443 port. It is simply not possible as the application use complex redirects to serve pages and Nginx rewrite rules are not sufficient.
The easy way is to use Layer 4 redirect on a router. You can assign multiple address on your edge router for example 8010, 8011, 8012, 8013 is input ports and pass them through to *IPaddress*:8006 for each target proxmox server. You can then use proxmox.mydomain.com:8010 and that will give you a session. However, SSL, SSO and many more small issues will become apparent very quickly.
The alternative is to use subdomains. That is obviously the best solution as Nginx will “kinda” work. Check the VM consoles for a rude awakening. Now you have multiple points of support and failure. You need a robust DDNS service and more but here is the major issue, as always – SSL. Each subdomain requires an SSL cert or a damn expensive wildcard cert. Step in NetworkChuck giving you a guide to install a wildcard SSL through Cloudflare. So lets jump in, ready?
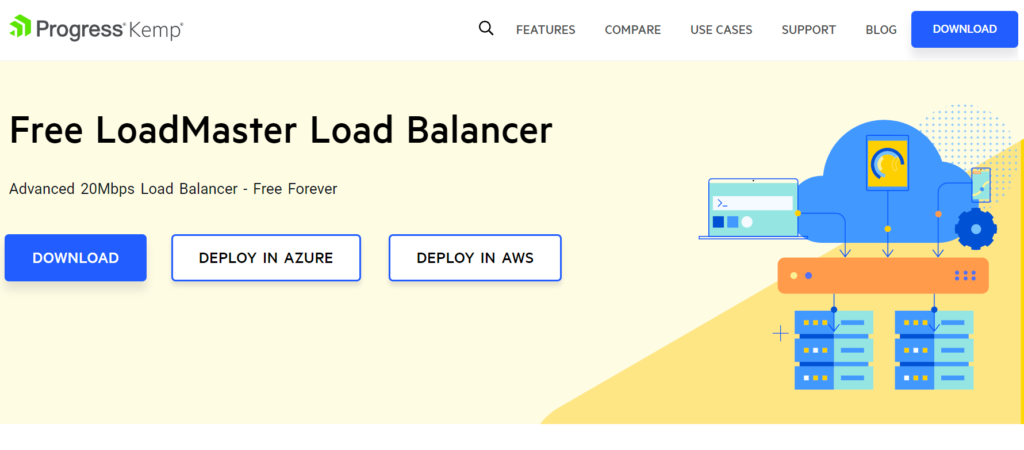
Download the Kemp Loadmaster using NetworkChuck’s affiliate code. Its only fair. https://freeloadbalancer.com/
| Feature | Free LoadMaster | VLM-500 Subscription |
|---|---|---|
| License Terms | Free | From $1,377 per year |
| Hypervisor – VMware, Hyper-V, KVM, Xen, Oracle VirtualBox | Yes | Yes |
| Public Cloud – Azure, AWS | Yes | Yes |
| Balancer Throughput License (L7) | 20Mbps | Up to 500Mbps |
| TLS (SSL) TPS License (2K Keys) | 50 | Up to 500 |
| Support | Community | 24×7 Premium Live Support and Expert Diagnostics |
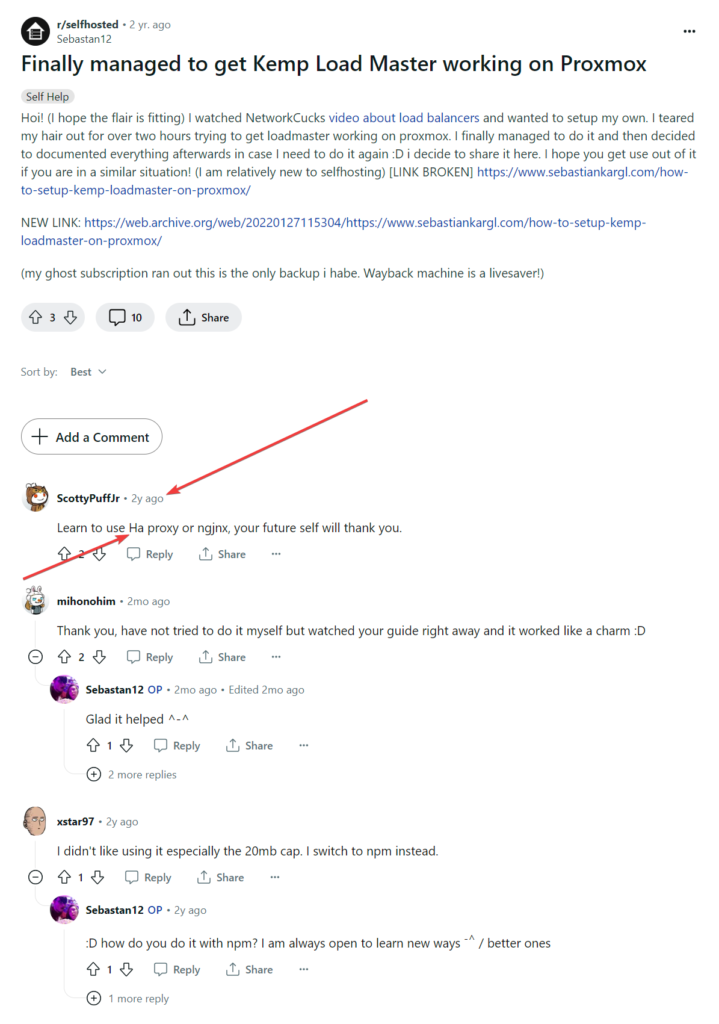
This will be adequate for a home lab but not great. Probably best to dive directly into HAProxy but aijoh, that is another story. Wise words from ScottyPuffJr – heed it for your sanity.
The generally accepted image download to choose is the VMWare image. So create an account and download the image.
There are a few articles left in wayback machine on how to install Kemp Loadmaster in proxmox as for some unfathomable reason there is not a Proxmox image. Ah, free is free right. One OK article is from Sebastian Kargi but is long gone apart from on wayback machine so save it.
The steps are simple enough.
- Download the VMware image.
- Copy the image to your target proxmox server into /var/lib/vz/template/iso (use winscp)
- For noobs – Edit /edc/ssh/ssh.config and enable – PermitRootLogin yes
- Import the ovf using – qm importovf 1005 LoadMaster-VLM-7.2.59.0.22007.RELEASE-VMware-OVF-FREE.ovf local – (1005 is my vm id and the target disk is local YMMV)
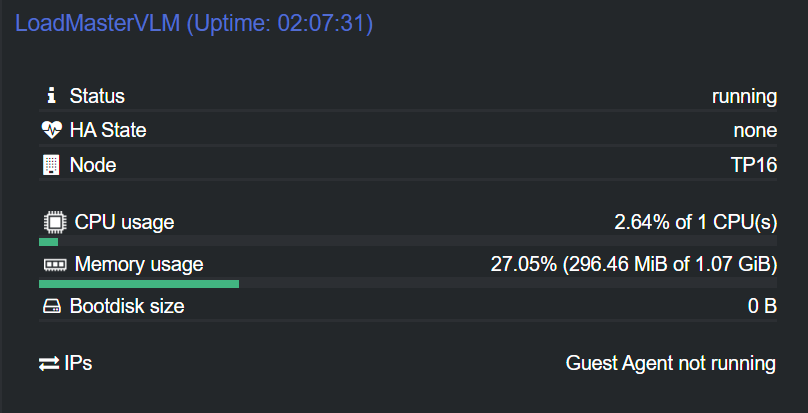
- This will create a new VM called 1005 LoadMasterVLM on the target proxmox server
- The memory is 1GB or 2GB.
- Change the SCSI controller to VMWare PVSCSI
- Make sure the network adapter is e1000.
- Start the VM – It will use DHCP.
- Optional – find the new server in your router, assign the address you want and reboot Kemp LB.
- Reboot and the console will show the new IP address.
- Go to the web interface and use the id and password bal and 1fourall.
- License the KempLB
- Configure Cloudflare and KempLB as per NetworkChuck.
- Done? Welcome to the most unstable server ever. It will restart every few minutes.
So how do you know it is rebooting apart from loosing access to the console, getting a cloudflare error, not being able to use the services etc? Sorry, I am being belligerent. You must understand the Kemp Loadmaster is built on opensource but IS NOT open. You cannot SSL into linux and look at logs etc. It is locked up. Make a small change in Proxmox while the server is running. It will be in red until the server reboots. So no longer red? You’re screwed.
The problem, issue, challenge with my job has always been “the buck stops here”. I am usually the last in the chain and will have no choice but to fix it or use an alternative. Fun fun fun.
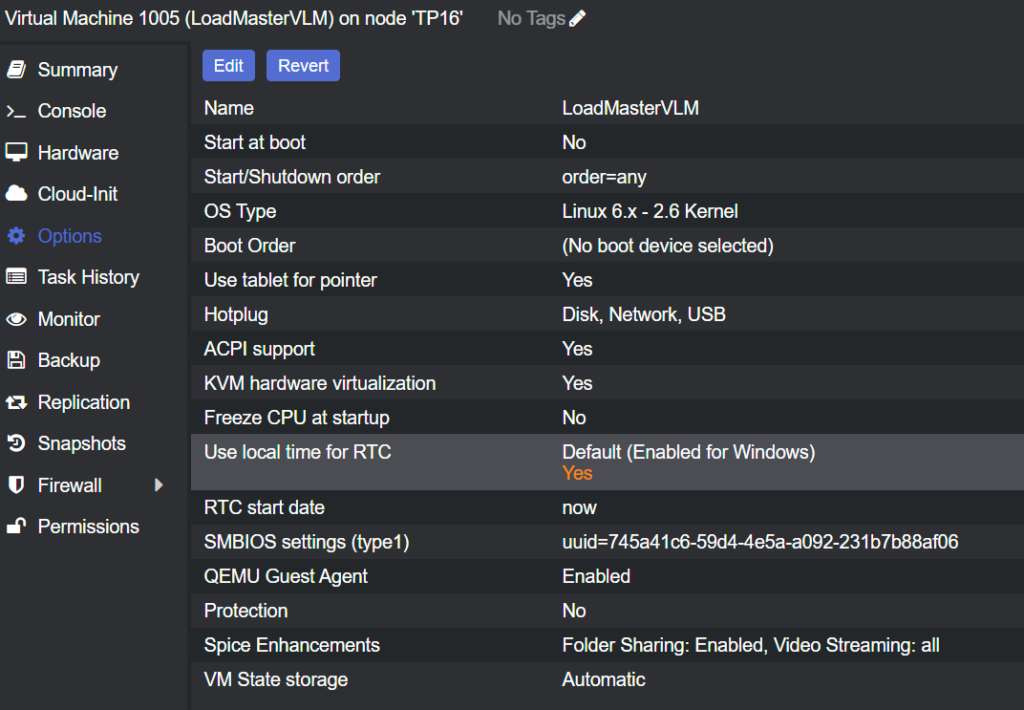
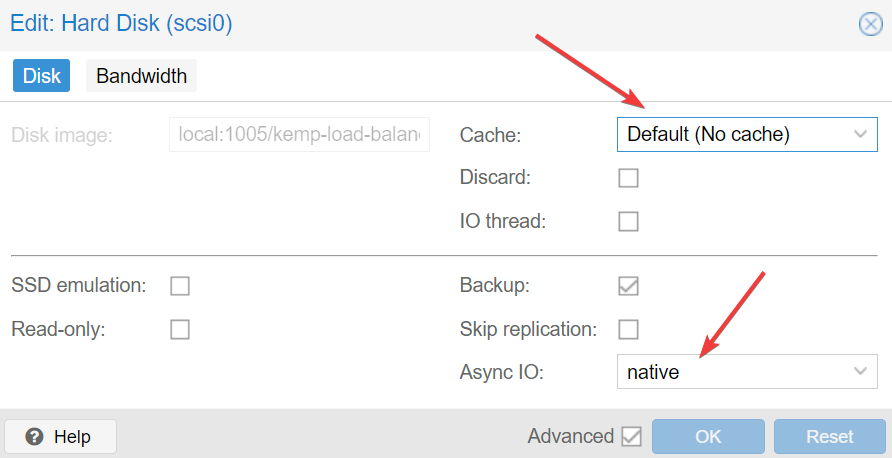
So, initially I altered the SCSI IO to native after seeing a post regarding this.
Of course it did not work. Step two was to convert the OVF disk to QCOW2 and try again after reading this article. https://www.reddit.com/r/Proxmox/comments/obc2aw/kemp_load_balancer/
**Perhaps detaching the disk and reattaching the disk, as below, at this stage will help.
One amazing feature of Proxmox is the ability backup and restore VM on any other proxmox server if you have an NFS share. So, I started the journey and fixing the issue while getting to grips with HAProxy as the real alternative. Here are my notes.
TL:DR – It is stable now.
- Took a backup of the config on the unstable Kemplb on PXM1.
- Shutdown the Kemplb on PXM1.
- SSH into PXM2 and accessed the transferred KempLB image .
- Converted the vmdk to qcow2. – qemu-img convert -f raw /var/lib/vz/images/1005/vm-1005-disk-0.raw -O qcow2 /var/lib/vz/images/1005/kemp-load-balancer-7.2.59.qcow2
- Used QM importdisk that created a new VM and that converted the disk back to RAW. – qm importdisk 1005 kemp-load-balancer-7.2.59.qcow2 local
- Started the new KempLB2 on PXM2 and to get past the ULA I had to relicense and could only select 1 month trail. There is no way to release a previous license. Word of warning, once relicensed there is no way back.
- Restored the backup up config from PXM1.
- All good apart from the warning that license is for 1 month only.
- Stable and no more rebooting. Result (for now – 5pm).
- Major failure after proper testing later at night, when I really needed remote access, nothing worked and there was no way to trouble shoot on a tiny Galaxy S22 Ultra.
- The issue was Cloudfare saw a new mac address / fingerprint and the SSL cert was not valid as it was a new server. Fair enough. SSL fingerprinting works.
- Action plan – Alter the original KempLB with the QCOW2 disk.
- Copied the QCOW2 into the directory manually. – cp -f /var/lib/vz/template/iso/kemp-load-balancer-7.2.59.qcow2 /var/lib/vz/images/1005/
- Altered the conf file manually – cd /etc/pve/qemu-server – nano 1005.conf – scsi0: local:1005/kemp-load-balancer-7.2.59.qcow2,aio=native,backup=0,discard=on,iothread=1,size=16777217K,ssd=1
- Started KempLB. Failed again. Ah heck. Damn, arghhhhhh. – “NEVER GIVE UP, NEVER SURRENDER!” – Jason Nesmith (Tim Allen), GALAXY QUEST
- Shutdown KempLB om PXM1, backup to a shared NFS disk and restore on PXM3.
- The backup did not work with a no disks found issue. Red flag missed.
- Detached the disk and reattached the disk on PXM1.
- The backup worked.
- Restored on PXM3.
- All good!!! No more reboots and all works with a free license.
- In retrospect the issue was probably detaching and reattaching the disk on PXM1.
- I don’t care. Its working. All efforts will now be on getting HAProxy to work.
 Previous Post